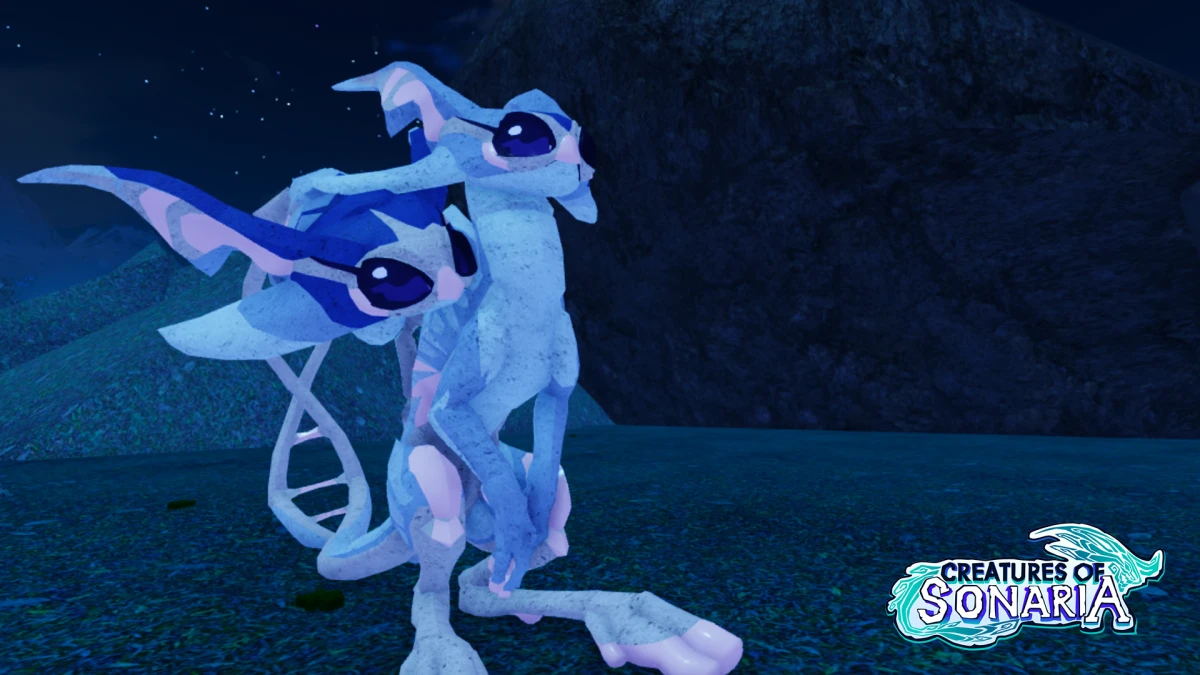
Creatures of Sonaria Idrabark: Ultimate Guide & Stats
Discover everything about the Idrabark in Creatures of Sonaria. Learn its unique abilities, combat stats, and tips to master this bipedal hunter effectively.
Published: Creatures of Sonaria Wiki Editorial Team
Table of Contents
The Idrabark is one of the most visually distinctive species in the game, standing out with its humanoid, bipedal silhouette and intricate, nature-inspired design. If you are playing Creatures of Sonaria and looking for a creature that balances high intelligence with a unique set of tactical combat abilities, the Idrabark is an excellent choice.
Whether you are a newcomer trying to understand why this creature is so popular or a seasoned player looking to refine your combat tactics, understanding the Creatures of Sonaria Idrabark mechanics is essential for survival. This guide covers everything from its base stats and specific ability usage to advanced survival strategies that will help you thrive in the Sonarian wilderness.
Understanding the Idrabark: A Tier 2 Overview
The Idrabark is a Tier 2 omnivore, known for its agile movement and deceptive combat strength. While it may look like a delicate scavenger at first glance, its kit is designed for hit-and-run tactics. It is not a tank; it is a precision hunter.
The species is primarily available through the Timed Mission System, typically appearing during the month of September. Because it is a Tier 2 creature, it occupies a specific niche in the ecosystem—large enough to pose a threat to smaller creatures, but small enough to require careful positioning against larger predators.
Key Creature Statistics
Stat Category
Details
Tier
2
Diet
Omnivore
Mobility
Terrestrial
Primary Combat Style
Ambush & Hit-and-Run
Key Passive
First Strike
Understanding these basics is the first step. You cannot play the Idrabark like a heavy-hitter such as a Warden. Instead, you must leverage its speed and intelligence to dictate the flow of the battle.
Combat Abilities and Tactical Usage
To truly master the Creatures of Sonaria Idrabark, you need to understand how its abilities synergize. It is not enough to simply press buttons; you must create openings for your attacks.
The Power of First Strike
The Idrabark’s most significant asset is its First Strike passive. This ability grants you increased damage while your health is above 75%. This is the "golden window" for any Idrabark player. Your goal in any engagement is to initiate the fight, land your hits while you have the health advantage, and then disengage before your health drops into the lower tiers.
Mastering Thorn Trap
One of the most underrated tools in your arsenal is the Thorn Trap. When placed correctly, this ability can turn the tide of a battle.
How it works: It drops a trap that deals 5% of the target's max HP, inflicts six stacks of Bleed, and applies two stacks of FREEZE.
Why it matters: The FREEZE effect is crucial. It immobilizes the target, allowing you to retreat or set up a follow-up attack. Use this when you are being chased by a larger predator to create distance.
Ability Synergy Table
Ability
Effect
Tactical Use Case
Ambush
Speed boost
Closing the gap or escaping quickly.
Thorn Trap
Bleed + Freeze
Area denial and stopping pursuers.
Latch
Grab onto larger foes
Used for survival or annoying larger targets.
Wing Shredder
Inflicts Shredded Wings
Crucial for grounding flying enemies.
Survival Strategies: How to Stay Alive
Community reports often highlight that the Idrabark is a "glass cannon." While it has decent regeneration, it can be one-shot or two-shot by larger, high-tier creatures if you are not careful.
Stamina Management
One of the most common mistakes players make is burning through stamina too quickly. The Idrabark has good stamina regeneration, but its high-mobility abilities—especially jumping—consume it rapidly.
Tip
Stamina Conservation
Avoid double-jumping unnecessarily when not in combat. Save your stamina for the "Ambush" ability. If you run out of stamina in the middle of an open field, you become an easy target for any predator nearby.
Pack Hunting Tactics
The Idrabark truly shines when playing in a pack. Thanks to the Strength in Numbers passive, you gain a 7% stamina regeneration boost and a 1.5% damage boost for every nearby ally of the same species.
When hunting in a group:
Coordinate Hits: Do not all attack at once. Stagger your attacks so the target is constantly suffering from Bleed and Injury stacks.
Rotate: If one Idrabark gets low on health, they should retreat to heal while the others cover them.
Communication: Use the pack to surround larger prey. Even if you cannot kill a massive creature alone, a pack of Idrabarks can effectively "chip away" at a target until it dies from bleed damage.
Appearance and Lore: More Than Just Wood
While the Creatures of Sonaria Idrabark is often compared to a dryad or a wood-based creature, the lore and artist headcanons clarify that it is not actually made of wood. Instead, it possesses a unique, organic armor that resembles birch bark.
This design is functional, not just aesthetic. The armor acts as insulation and camouflage in dense forest environments. Players often appreciate the level of detail put into the animations, particularly the way the vines around its arms uncoil into spears. If you are into the roleplay (RP) aspect of the game, the Idrabark offers rich opportunities, as it is an intelligent species that builds dens and cares for its young.
Step-by-Step: How to Obtain the Idrabark
If you don't have this creature in your inventory yet, you are likely wondering how to get it. The Idrabark is a monthly special, which means its availability rotates.
Check the Monthly Missions: The Idrabark is usually tied to the Timed Mission System. Check your mission log at the start of the month to see if it is available.
Complete the Requirements: These missions often involve specific tasks like surviving for a set amount of time or interacting with specific biomes.
Trading: If the event has passed, your best bet is the Trade Realm. Because it is a popular creature, you might need to offer other limited creatures or a significant amount of Shooms to secure a trade.
Trial Creatures: Keep an eye on the Trial Creatures Shop. You can often play as an Idrabark using a trial token or Shooms, which allows you to test the creature before committing to obtaining the permanent species.
In recent community discussions, veteran players have emphasized that the Creatures of Sonaria Idrabark is highly dependent on player skill. It is not a creature you can play "brain-dead."
The "Ankle-Biter" Strategy: Many players use the Idrabark to annoy larger creatures. By utilizing the Latch ability, you can attach yourself to larger beasts. While this is dangerous, it is incredibly effective for keeping a larger predator distracted while your pack mates take advantage of the situation.
Avoid Water: Although it is an omnivore, it dislikes water. Staying wet can lead to "water damage" to its armor, which is a unique mechanic that can hinder your stats. Always try to dry off after crossing rivers.
The "First Strike" Trap: A common mistake is assuming you can stay in a fight once your health drops below 75%. Once you lose that First Strike bonus, your damage output drops significantly. Learn to retreat the moment you take a heavy hit.
FAQ: Frequently Asked Questions
Is the Idrabark good for beginners?
It can be challenging for beginners due to its low health pool and reliance on active abilities. However, it is a great creature to learn the mechanics of hit-and-run combat and pack coordination.
How do I use the Idrabark's spears effectively?
The spears are part of your natural kit. They are used for your primary attacks and are enhanced by your Bleed and Injury passives. You don't need to "equip" them; they are active during your standard attack animations.
Can the Idrabark survive in the desert biome?
While it is primarily found in dense forests, the Idrabark is adaptable. However, be mindful of your stamina and health in harsh environments. As a Tier 2, you are vulnerable to heat-based predators in the desert.
Why does my Idrabark keep dying so fast?
You are likely playing too aggressively. The Creatures of Sonaria Idrabark is not a tank. If you are trading hits with larger creatures, you will lose. Always prioritize mobility and use your Ambush ability to escape when the fight turns against you.
Mastering this species takes time and patience, but the payoff is a highly rewarding gameplay experience. Whether you are using your Thorn Trap to outsmart a predator or working with a pack to take down a larger foe, the Idrabark remains one of the most tactical and fun creatures to play in the game.