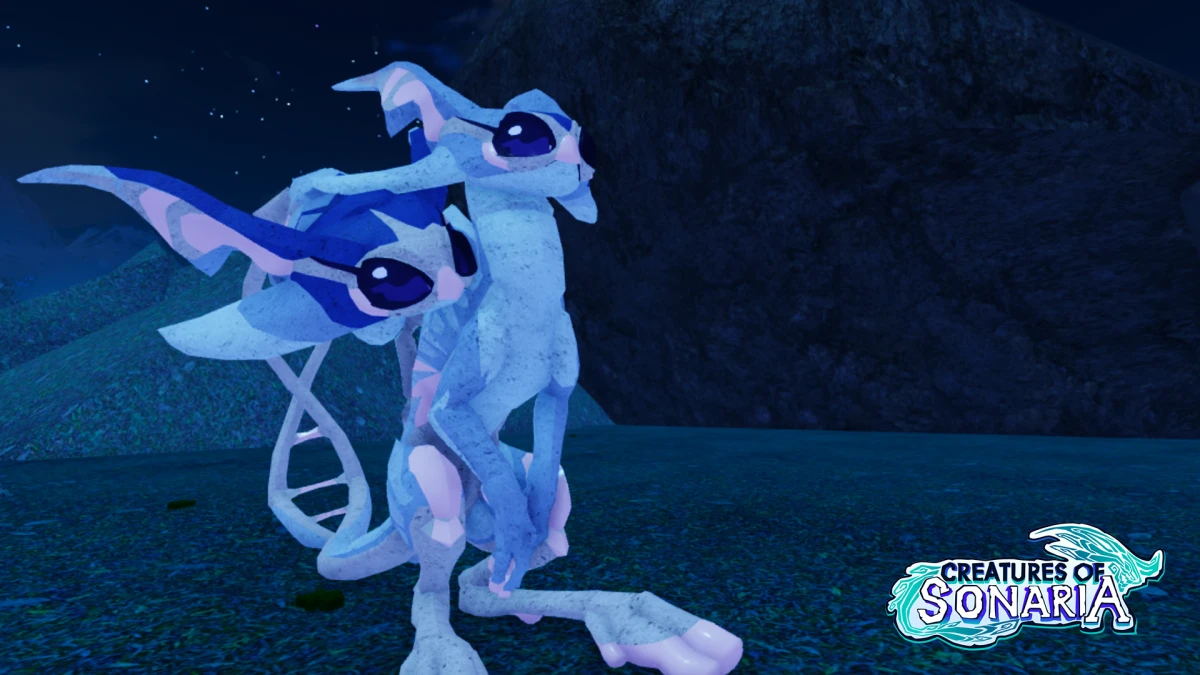
Arkmetta Guide: Mastering Creatures of Sonaria Combat Tactics
Master the Arkmetta in Creatures of Sonaria with our expert guide. Discover its unique abilities, combat strategies, and tips to dominate your rivals.
Published: Creatures of Sonaria Wiki Editorial Team
Table of Contents
Introduction to Arkmetta
In the ever-evolving ecosystem of Creatures of Sonaria, few creatures command the battlefield with as much tactical nuance as the Arkmetta. This Tier 4 terrestrial carnivore is more than just a visual marvel; it is a complex, fungi-inspired predator designed to turn the environment against its prey. Understanding the Arkmetta is essential for players looking to elevate their gameplay from basic survival to master-level combat.
Whether you are a newcomer just discovering this spider-like beast or a seasoned veteran looking to refine your combat rotations, this guide provides the deep dive you need. We will break down its formidable ability set, explore why its "Hunker" mechanic is a game-changer, and provide actionable tips to ensure you come out on top in every encounter.
The Unique Biology and Stats of Arkmetta
The Arkmetta is defined by its hybrid design, blending spider-like agility with the toxic properties of fungi. As a Tier 4 carnivore, it occupies a sweet spot in the game, possessing enough health to survive skirmishes while maintaining the speed necessary to dictate the flow of battle.
Core Statistics Overview
Feature
Detail
Tier
4 (Large)
Diet
Carnivore
Mobility
Terrestrial
Primary Role
Area Control / Debuffer
Acquisition
Robux Shop (449 Robux)
According to community insights, the Arkmetta’s strength lies in its ability to force opponents into unfavorable positions. By utilizing "Toxic Trail" and "Poison Area," players can effectively create "no-go zones" that punish aggressive melee attackers.
Mastering Arkmetta’s Ability Kit
The true power of the Arkmetta is found in its active and passive abilities. Unlike straightforward brawlers, this creature requires a methodical approach.
Key Abilities Explained
Hunker: When you begin strafing, this ability activates after 3 seconds. It significantly reduces damage taken, though it does trade off some of your own offensive output. It is your primary defensive tool against burst-damage predators.
Toxic Trap: This is your bread and butter for area denial. It creates a mud pile that inflicts both "Broken Legs" and poison, making it nearly impossible for enemies to escape once they step inside.
Drowsy Area: By slowing your opponents, you ensure they cannot easily retreat or dodge your follow-up attacks.
Tip
Combat Rotation Strategy
Always start a fight by placing a Toxic Trap. If an opponent engages, strafe to trigger Hunker, and use your Drowsy Area to keep them trapped in your poison-laden zone.
Tactical Combat: How to Win Skirmishes
Winning with the Arkmetta is rarely about sheer DPS; it is about attrition. You want to make your opponent regret every hit they land on you. Because the Arkmetta deals "Defensive Poison," any creature that attacks you in melee range is inherently taking damage, which is a massive advantage in prolonged fights.
Why Arkmetta Excels in Group Fights
Area Control: Your poison zones affect everyone nearby, forcing enemies to scatter.
Stamina Management: By using Toxic Trap, you drain enemy stamina, preventing them from using their own movement abilities to escape.
Survival: Thanks to "Iron Stomach," you can consume rotten meat in the wild to maintain health without the risk of becoming sick, ensuring you stay in the fight longer than your opponents.
Comparing Arkmetta to Other Tier 4 Predators
To understand where you stand in the food chain, it is helpful to compare the Arkmetta with other popular choices in Creatures of Sonaria.
Creature
Playstyle
Main Advantage
Arkmetta
Tactical/Debuffer
Extreme Area Control
Kendyll
Aggressive Brawler
High Raw Damage
Sana'ata
Tanky/Defense
High HP Pool
Sarcosiris
Aquatic/Ambush
Versatile Mobility
As noted by various player discussions, while the Arkmetta may lack the raw damage output of a dedicated brawler like the Kendyll, it wins through superior utility. If you find yourself facing a larger opponent, focus on applying poison stacks and using your mobility to kite them until they are weakened.
Community Tips and Avoiding Common Mistakes
New players often make the mistake of playing the Arkmetta as a glass cannon. Because the creature is relatively small for a Tier 4, you should avoid standing still. Your "Climber" ability is one of your greatest assets; use it to scale walls and ceilings to escape or ambush players from unexpected angles.
Common Pitfalls to Avoid
Over-committing: Do not stay in the Toxic Trap for too long if your health is low. Use the trap as a deterrent, not just a weapon.
Ignoring Strafing: Many players forget to strafe, which means they never activate the Hunker ability. Practice your movement patterns in empty zones before heading into high-traffic areas.
Forgetting Defensive Poison: Remember that your passive poison works best when you are being attacked. If you are being pressured, let the enemy come to you.
Official Resources and Further Learning
To stay updated on the latest balance patches and creature changes, always refer to the Official Creatures of Sonaria Roblox Page. Keeping an eye on these updates is vital, as ability cooldowns and damage values are frequently adjusted to maintain game balance.
Frequently Asked Questions (FAQ)
Q: Is the Arkmetta worth the 449 Robux?
A: Yes, if you enjoy tactical gameplay. It is one of the most unique creatures in Creatures of Sonaria due to its complex ability set that allows for creative area control strategies.
Q: Can the Arkmetta climb walls?
A: Absolutely. The "Climber" passive ability allows you to walk on vertical surfaces and ceilings, which is perfect for avoiding ground-based predators or setting up ambushes.
Q: How do I activate the Hunker ability?
A: Hunker activates automatically after you have been strafing for 3 seconds. It is a defensive stance that reduces incoming damage, making you much harder to kill during intense combat.
Q: Is the Arkmetta good for beginners?
A: While it requires a bit of practice to master the ability rotations, its defensive passives make it quite forgiving compared to other glass-cannon predators. Just remember to utilize your climbing and traps!