How to Get Firakai in Creatures of Sonaria: Tips & Guide
Unlock the explosive Firakai in Creatures of Sonaria with our expert guide. Discover the best strategies, ability breakdowns, and tips to master this creature.
Published: Creatures of Sonaria Wiki Editorial Team
Table of Contents
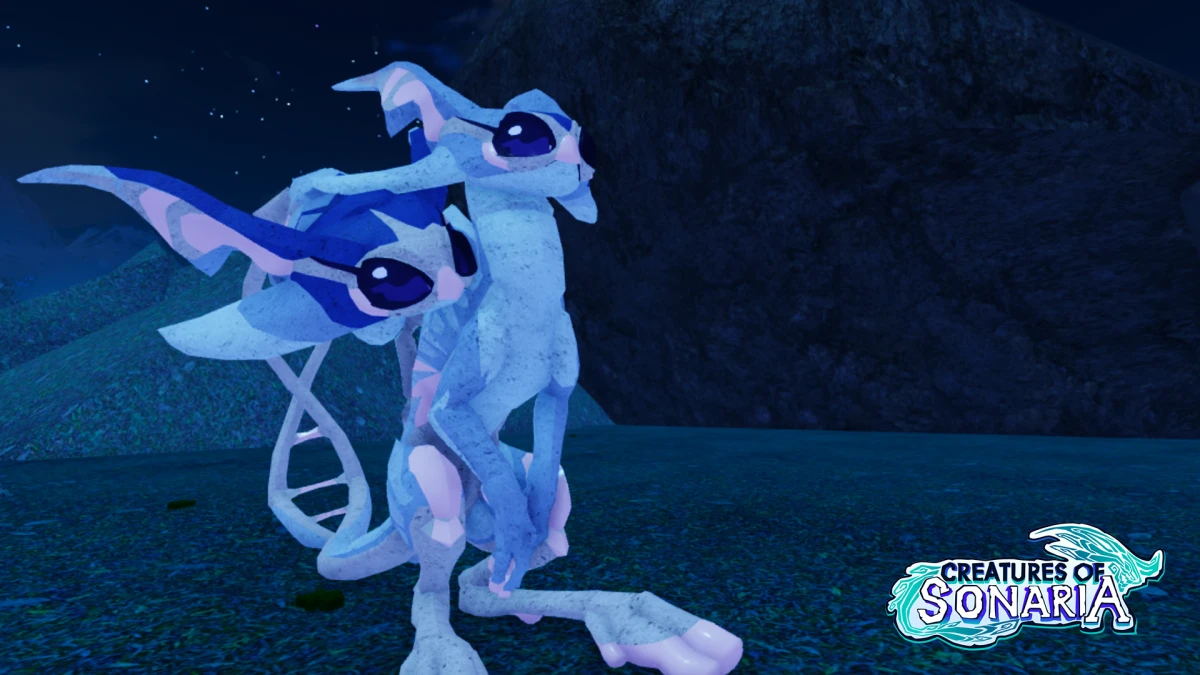
The Firakai is one of the most visually striking and mechanically interesting creatures you can add to your roster in Creatures of Sonaria. With a design inspired by the spectacle of fireworks and a personality that screams "high energy," it has quickly become a sought-after species for collectors and combatants alike. Mastering this creature requires more than just luck; it demands an understanding of its unique mechanics and the specific events associated with its obtainment.
If you are looking to dominate the map with this firework-themed powerhouse, you have come to the right place. In this guide, we will break down everything you need to know about navigating Creatures of Sonaria to secure, grow, and effectively utilize your Firakai. Whether you are a seasoned veteran or a newcomer to the game, these strategies will help you get the most out of your experience.
Unlocking the Firakai: Obtainment Strategies
The Firakai is not a creature you can simply stumble upon in the wild at any time. It is tied to specific events, which means timing is everything. Based on community experiences and event cycles, the Firakai is primarily associated with the Fireworks Event. To secure this creature, you often need to complete specific missions or participate in the event shop.
Essential Obtainment Methods
Method
Description
Difficulty
Event Mission
Complete the specific Firakai Obtainment mission during the Fireworks Event.
Moderate
Event Shop
Purchase for 10,000 Shooms during the Fireworks Event.
Hard (Grind-heavy)
Bundles
Purchase the "Shimmering Sparks" bundle (1,199 Robux).
Easy (Instant)
Tip
Maximize Your Fireworks Hunt
Community reports suggest that hunting for fireworks is significantly easier at night. They are highly visible in the dark, making them much easier to spot compared to the daytime. If you are grinding for the event, focus your efforts during the in-game night cycle.
When grinding for the event, efficiency is key. Many players recommend using a Tier 4 flyer—such as the Galtekron—to navigate the map quickly. Because the tasks often require covering distance to collect items or fireworks, having a fast, reliable flyer significantly reduces the time spent on the grind.
Mastering Firakai Abilities and Combat Mechanics
The Firakai is a Tier 4 land omnivore, and its ability set reflects a "high-risk, high-reward" playstyle. Understanding its kit is crucial for survival in the often-chaotic environments of the game. It isn't just about raw stats; it's about knowing when to engage and when to use your defensive utilities.
Key Ability Overview
Ability
Type
Effect
Self-Destruct
Passive
Activates at 15% HP; deals AOE burn damage and knockback.
Speed Blitz
Active
Consumes 50% stamina for a significant speed boost.
Burn Attack
Offensive
Applies burn stacks with each bite.
Quick Recovery
Passive
Boosts HP regeneration when below 40% health.
The most notable ability in the Firakai's arsenal is Self-Destruct. This is a powerful, albeit desperate, last-stand mechanic. When your health drops to 15% or below, the Firakai effectively turns into a bomb. It applies 10 stacks of burn to nearby enemies and knocks them back. This is an excellent tool for deterring attackers who think they have an easy kill. Always remember that this move has a five-minute cooldown, so use it wisely.
Additionally, the Speed Blitz ability is essential for both engaging and escaping. Because it consumes half of your stamina bar, you should only trigger it when you are certain you can secure a kill or reach safety. Using it recklessly will leave you vulnerable and unable to run if the tide of battle turns.
Gameplay Tips: Growing and Survival
Growing your Firakai quickly is the best way to ensure it becomes viable for combat. A fresh, young creature is always at risk, so minimizing the time spent in the vulnerable "growing" phase is a top priority for any player.
The Power of the "Satiated" Effect
One of the most effective ways to speed up the growth process is by utilizing the "Satiated" effect. You can trigger this by eating berries or specific meats (like those dropped by players).
How to trigger: Eat berries or killed meat (avoid rocky items).
Why it matters: It lowers your growth time, allowing you to reach adult status much faster.
Pro Tip: If you are a new player, focus on finding food sources immediately after spawning. Being "Satiated" not only speeds up growth but also removes hunger, allowing you to travel longer distances without stopping to forage.
If you are struggling to find food, remember to check the map for hotspots. While it might be tempting to wander, staying in areas where you know food spawns are plentiful is a safer bet for a growing Firakai.
Combat Dynamics: Carry, Latch, and Matchups
The Firakai's role in the ecosystem is defined by its Tier 4 status and its physical interactions. As a terrestrial omnivore, it has specific limitations regarding which creatures it can interact with.
Understanding Carry and Latch Mechanics
Can-Grab: As a Tier 4 creature, the Firakai can pick up creatures of a lower or equal tier, provided there is enough weight difference. However, due to its specific stats, there are currently very few creatures it can successfully carry.
Grabbed-By: The Firakai can be picked up by larger, stronger creatures. You must be aware of your surroundings. If you see a creature like a Kendyll or an Opralegion, you are at risk of being grabbed.
Latch Mechanics: The Firakai can latch onto higher-tier creatures if it possesses the Latch ability. This is a great way to deal damage to massive threats without being directly in their line of sight.
Always check the "Grabbed-By" list in the creature's menu. Knowing which predators can pick you up is the difference between a successful hunt and becoming a meal. If you are being hunted by a creature that can grab you, your best strategy is to stick to difficult terrain or areas with dense cover where they cannot easily maneuver to snatch you.
Community Insights: Tactics for Success
The Creatures of Sonaria community is a wealth of knowledge. From shared experiences on forums to YouTube guides, players have developed a meta for the Firakai that emphasizes its strengths.
One common piece of advice from veteran players is to never underestimate the "Burn" damage. Because the Firakai applies burn stacks, it is particularly effective against creatures that rely on high health pools but lack burn resistance. By engaging in "hit-and-run" tactics—getting a few bites in to stack the burn and then retreating—you can whittle down opponents much larger than yourself.
Warning
Avoid Over-Extending
While the Firakai has excellent offensive capabilities, it is not a tank. Do not attempt to facetank larger creatures. Always use your agility and the Burn status to your advantage. If you find yourself surrounded, use your Speed Blitz to create distance immediately.
Frequently Asked Questions (FAQ)
Is the Firakai still obtainable in Creatures of Sonaria?
The Firakai is an event-based creature. It is typically available during the Fireworks Event. If the event is not currently active, you may need to wait for the event to return or look for trading opportunities with other players in the game's trade realm.
What is the best way to grow a Firakai quickly?
To grow your Firakai efficiently, focus on getting the "Satiated" effect by eating berries or meat immediately after spawning. This reduces your hunger and significantly decreases your growth time. Additionally, playing during lower-traffic times can help you avoid predators while you are in your vulnerable growth stages.
Why should I choose the Firakai over other Tier 4 creatures?
The Firakai offers a unique blend of offensive burn damage and defensive utility through its Self-Destruct ability. It is highly mobile and fun to play, especially if you enjoy an aggressive playstyle that relies on hit-and-run tactics and managing status effects rather than just brute strength.
How do I use the Firakai's Self-Destruct ability?
You don't need to manually activate it; Self-Destruct is a passive ability that triggers automatically when your health drops to 15% or lower. It serves as a defensive mechanism to deter enemies from finishing you off, dealing significant burn damage and knockback to anyone nearby. Ensure you are aware of the five-minute cooldown.
For more detailed stats and the latest game updates, you can always visit the official Creatures of Sonaria Roblox page to keep track of any balance changes or new event announcements.